
Appendix B: Determining the Input Data
The CADSTAR Migration Mapping dialog does not read the inputted data. Therefore, you must manually determine the details of the data from within CADSTAR. To determine the attribute names from CADSTAR, you must do the following.
- Launch eCADSTAR Library Editor.
- Select File > Open. The Open dialog is displayed.
- In the Open dialog, browse to the directory of the parts libraries to be migrated.
- Select the first part library, and click Open. This opens the part library into the CADSTAR Library Editor.
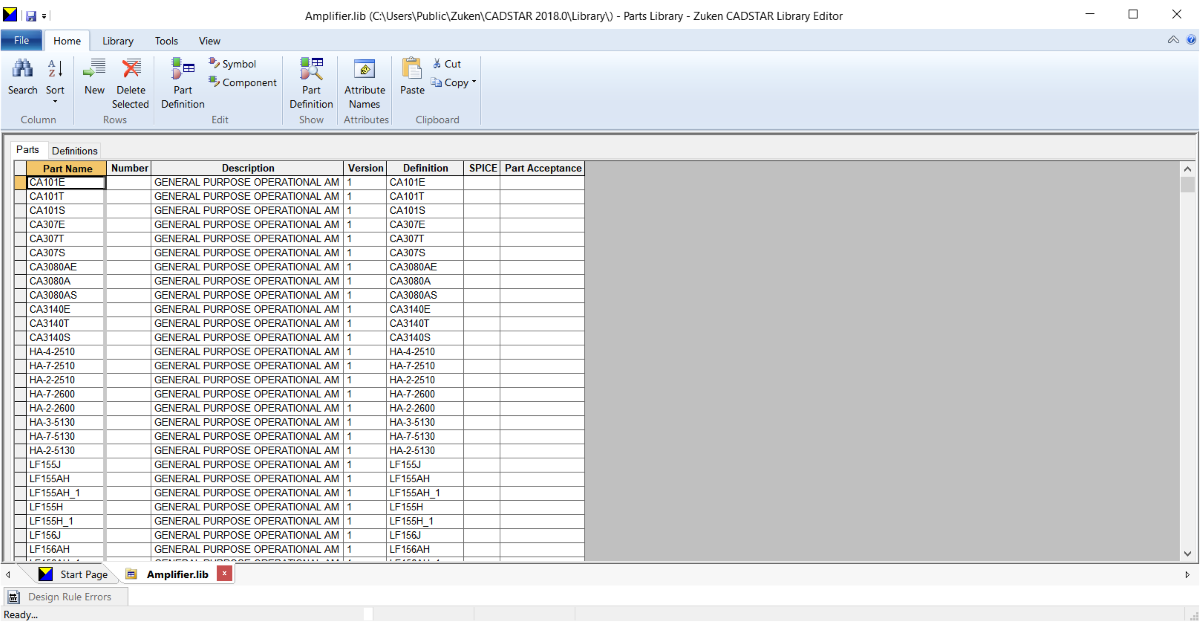
- Click Attribute Names on the Home tab of the ribbon. This displays the User Attributes dialog. This dialog contains a list of all user attributes that are defined in the part library.
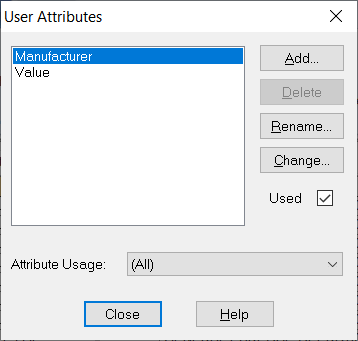
- Note all the attribute names before they are added into the eCADSTARMigration Mapping dialog.
- Click Close to close the User Attributes dialog.
- Select File > Close to close the open part library.
- Repeat the above steps for all other part libraries that are considered for migration.
Related Topics
Appendix A: File Types
Appendix C: Cadstar Layer Sub Types
Appendix D: Global Signals
Appendix E: Mapping Recommendations
Appendix F: High Speed Migration
Appendix G: Migration of Padstacks
Appendix H: Post Processing a PCB Design that is Annotated using a RINF Netlist
Appendix J: Post Processing a Part with Common Pins
Appendix K: Additional Notes
