
Creating New Scenario Data
This topic describes how to launch Electrical Editor, and create new scenario data.
- On the Start menu, click eCADSTAR [Version] > [Electrical Editor [Version]. eCADSTAR Electrical Editor is launched.
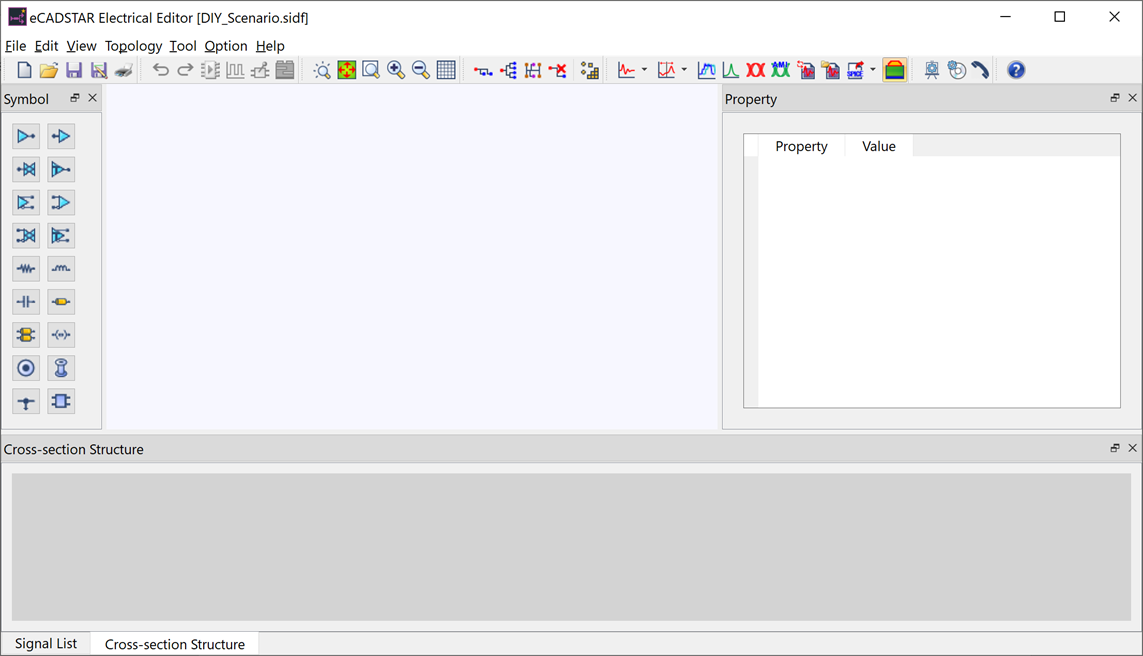
- On the Electrical Editor menu bar, click File > Save As. The Save As dialog is displayed.
- In the New Scenario Name box, type the following path: “C:\Users\Public\eCADSTAR\eCADSTAR [Version]\Analysis\SI\DIY_Scenario”, and click Save. Scenario data is created, and "DIY_scenario.sidf" is shown in the title bar.
Placing Symbols
- Using the Symbol toolbar, place the following symbols on the canvas. When you select a symbol, it appears on the cursor for placement.
A driver: 
A Receiver: 
A Transmission Line: 
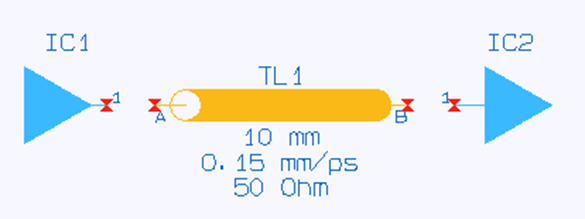
- Connect the three symbols so that the transmission line is placed between the driver and the receiver.
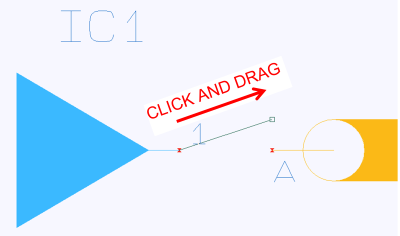
- Click and dragging from the start point terminal initiates a connection.
- Clicking the end point terminal established the connection.
The connected symbols are shown below.

- When you have completed the connections, click
Topology >
 Tidy
on the menu bar.
Tidy
on the menu bar. - On the menu bar, click File > Save to save your changes.
This task is demonstrated in the following video.
