
Task 10: Routing the Design
So far in the course, you have created the board and placed the components. You will now start routing the design.
- Open the design Design4.pdes, or use your placed design.
- Ensure these parameters are configured as follows:
- Display unrouted nets by toggling on the Display Nets button on the Quick Access Toolbar:
 .
. - Set both the routing and via grids to 0.1mm (Grid setting icons are at the bottom right of the display).
- Display pin numbers on pins. From the View tab, select the Canvas View Settings icon. On the Information tab, set the Pin number check box to ON.
- Display signal name on pins. From the Canvas View Settings icon, select the Track tab and set the Display signal name on pins check box to ON.
- Select the Unrouted net color box, change the color in the Select color dialog and click OK. Close the Canvas View Settings dialog.
- In the Layer Settings dialog, set the following layers to be visible, and set any others to OFF.
- Board outline
- Layout Area
- Hole
- CompArea-A
- Conductor-1
- Conductor-2
- Conductor-3
- Conductor-4
- Set the active layer to Conductor 1.
- In the View tab, set the Object Balloon button to ON. This displays information balloons on the canvas.
- In the Net/Route tab,
click the Add Route button
 .
. - Set Routing Style to 45-Degree.
- Zoom into the bottom-left side of the design and locate IC1 as shown.
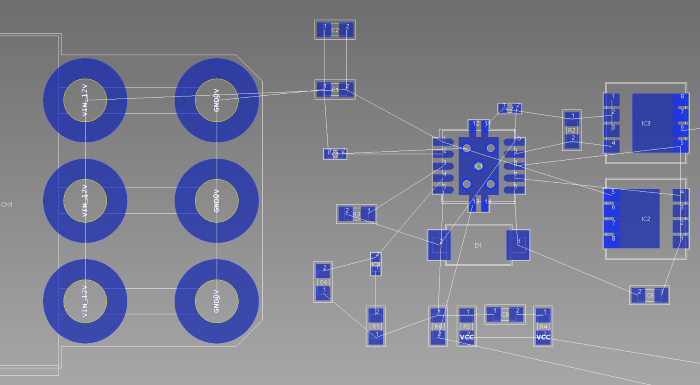
Figure 1: IC1 Location
- In the Add Route dialog box, specify "0.30000" in the Track width box.
- Click pin 2 of "IC1". The track, PS2_ENSS_REG, will begin routing.
- Route the track to C3, pin 2 as shown. Click the point where a corner is required in the route.
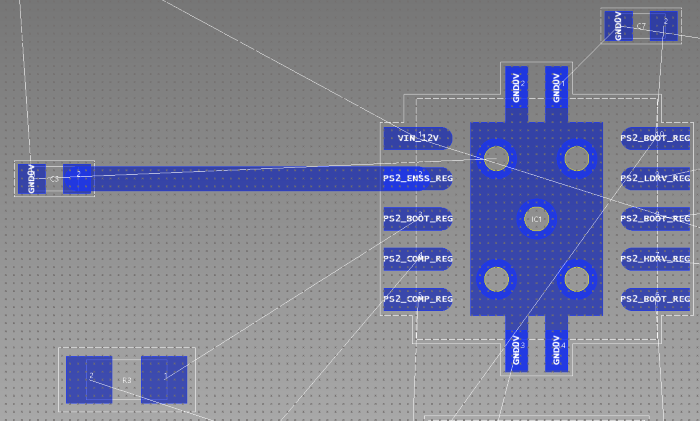
Figure 2: Routing a track
-
Route a track from pin 1 to a via as shown. Double-click at the location where the via is required to place it, and select the layer to finish the connection on. The Active Layer dialog is displayed if more than two conductor layers are visible.
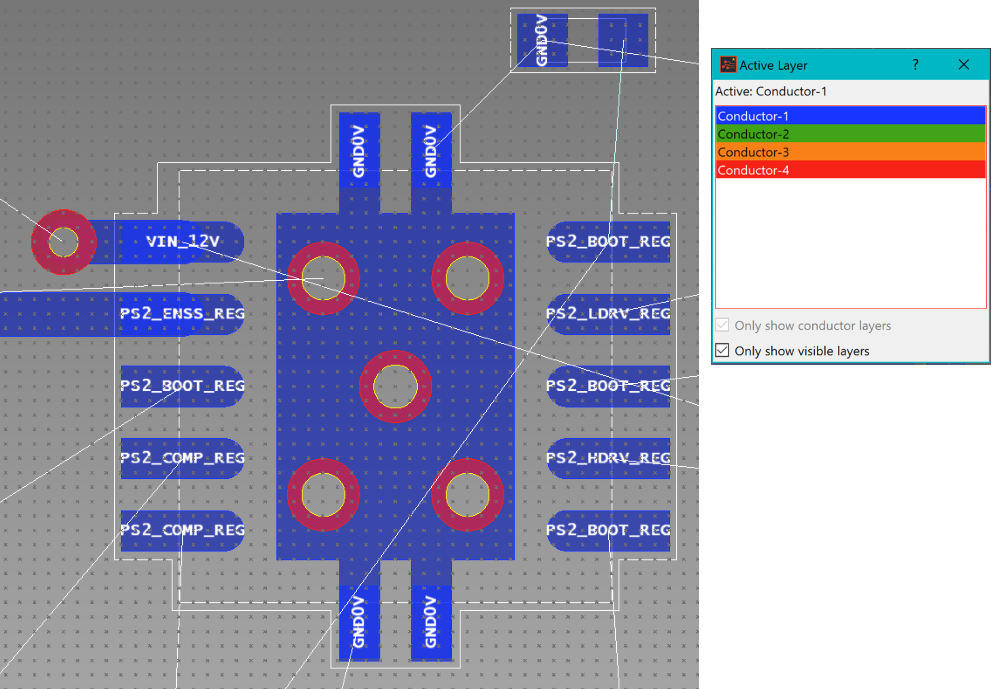
Figure 3: Routing to a Via
- Right-click and select Finish.
This task is demonstrated in the following video.
You have now placed a number of routes on your design. You will move onto how to use the routing tool in the next task.
