
Task 11: Activ-45 Routing
In this task, you will route a track using the Activ-45 routing tool. This is a powerful tool that helps you to route tracks by guiding you around obstacles and suggesting potential routes.
- Re-open the design Design4.pdes or use your placed design.
- Ensure that all Net and Layer Settings remain according to Task 9.
- From the Net/Route tab, click the Add Route button.
- Set Routing Style to Activ-45.
- Click Pin 3 of IC1 to start the routing process and drag across towards Pin 1 of R3. The track will begin routing automatically, as shown below.
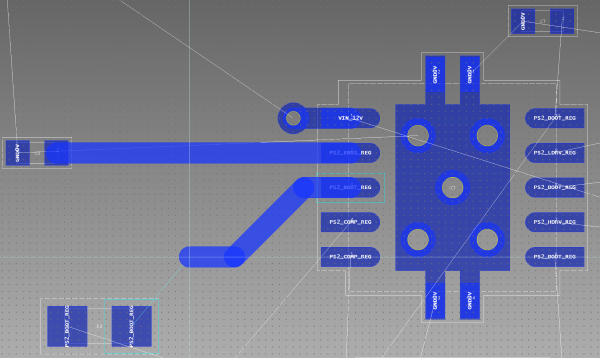
Figure 1: Commencing Track Routing
- Move the cursor over Pin 1 of R3. The route will be automatically completed as shown below. Optionally, corners can be manually inserted by clicking on the canvas. You have now routed a track using the Activ-45 router.
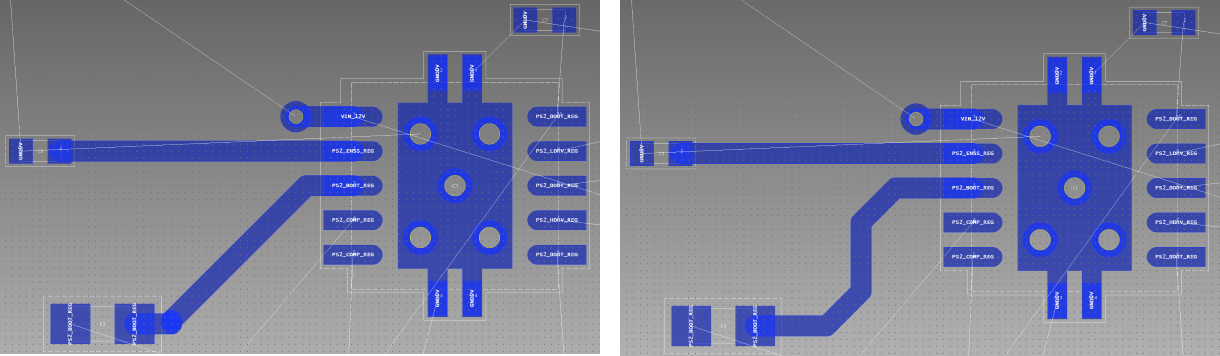
Figure 2: Completing Routing the Track
- Referring to the previous tasks for guidance, route all remaining connections on the design.
- Click any VCC padstack on the canvas to begin routing from it.
- Double-click the canvas and select Conductor-3 in the displayed dialog. The active layer is changed to conductor 3.
- Right-click the canvas, and select Finish on the assist menu. A through via is created because of the rules that are set in the Rule Editor. This allows you to generate a template on this layer in the next task.
Task 11 is demonstrated in the following video.
You will look at Positive Power Planes and Template Areas in the next section.
