
Task 26: Executing a Strategy
In this task, you will execute a strategy, and accept the results back into the PCB design.
- With the Routing Strategy dialog open and the strategy established, click Start in the Routing Tasks section. The routing strategy is executed.
- When the routing strategy is finished, close the report Routing Strategy Progress dialog.
- Close the Routing Strategy dialog. The following dialog is displayed.
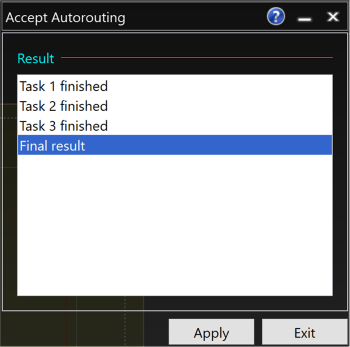
Figure 1: Accept Autorouting Dialog
-
Each row in the above dialog represents the results of each task in the routing strategy. If you click an item in the dialog, then the routing results at that point are displayed on the canvas.
- You can move around the design, and check the routing patterns.
- You can toggle the display of connection representations
by clicking Net /Route > Net >
 Display Nets. This may make it easier to see the routes.
 - You can also use the results at different stages of the strategy by selecting a different Task in the Accept Autorouting dialog, and clicking Apply. For example, if you select Task 1, then an unrouted design is displayed.
-
Select "Final Result", and click Apply. The results of the autorouter are added to the design. Any pourable copper templates are refilled with copper around the new routing.
This procedure is demonstrated in the following video.
This section has shown the basic operation of the Autorouter in eCADSTAR. For more detailed information about the tasks refer to the next section, "Autorouter Tasks".
