
Task 9: Applying Batch Lengthening
In this topic, you will batch lengthen a Skew Group to constraints.
- Open the DIY_HS_1_routed.pdes design. This design is fully routed, but has no lengthening to constraints. In this task, you will batch lengthen the Bytelane2 Skew Group.
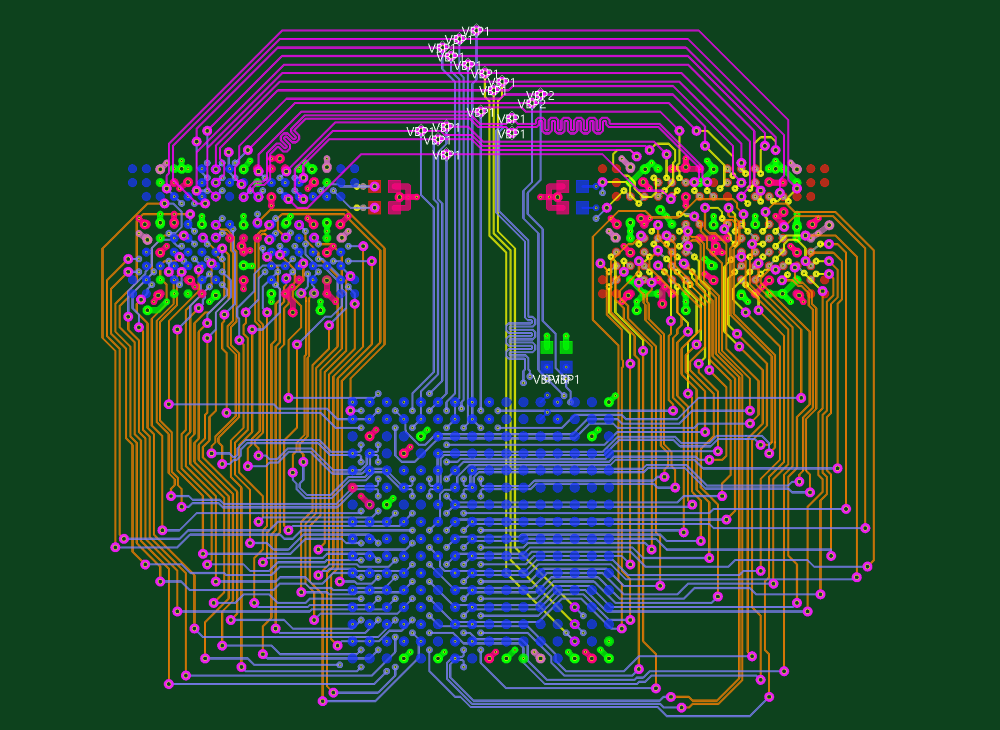
Figure 1: DIY_HS_1_routed.pdes design
- On the eCADSTAR PCB Editor ribbon, click Home > Design Rules > Constraint Browser.
- In Constraint Browser, select the Skew Groups tab.

Figure 2: Constraint Browser
-
In the signals tree, select the Bytelane2 Skew Group.
-
Select the Skew tab on the right side of Constraint Browser, and click the
 button. The table is populated
with values. Values are shown in red to indicate where constraints
are currently not met.
button. The table is populated
with values. Values are shown in red to indicate where constraints
are currently not met.
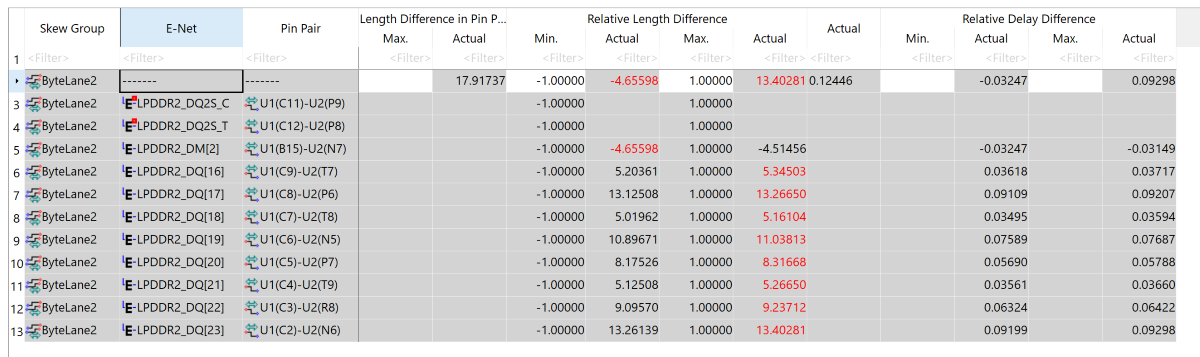
Figure 3: Skew Tab
- In the Skew tab, E-Net column, drag the cursor to select all the signals.
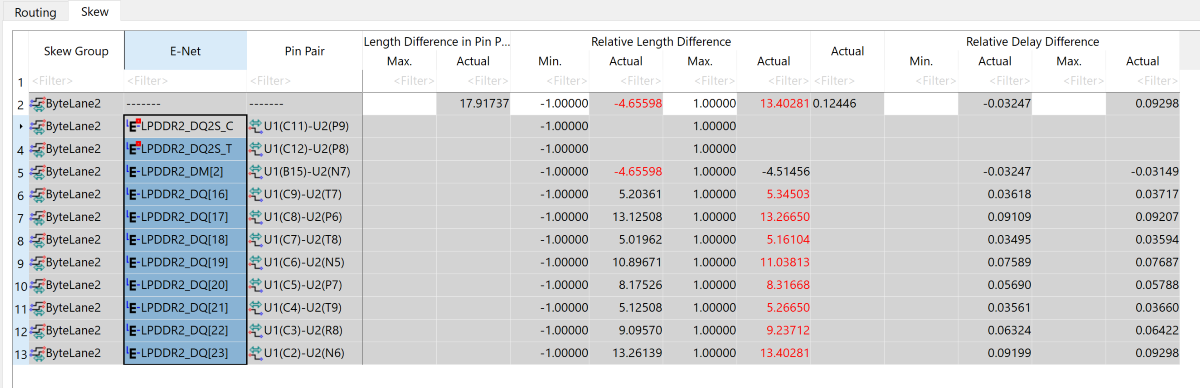
Figure 4: Skew Tab, E-Net column
- Right-click the selected signals, and then click Send Selection on the assist menu. The selected signals are highlighted on canvas.
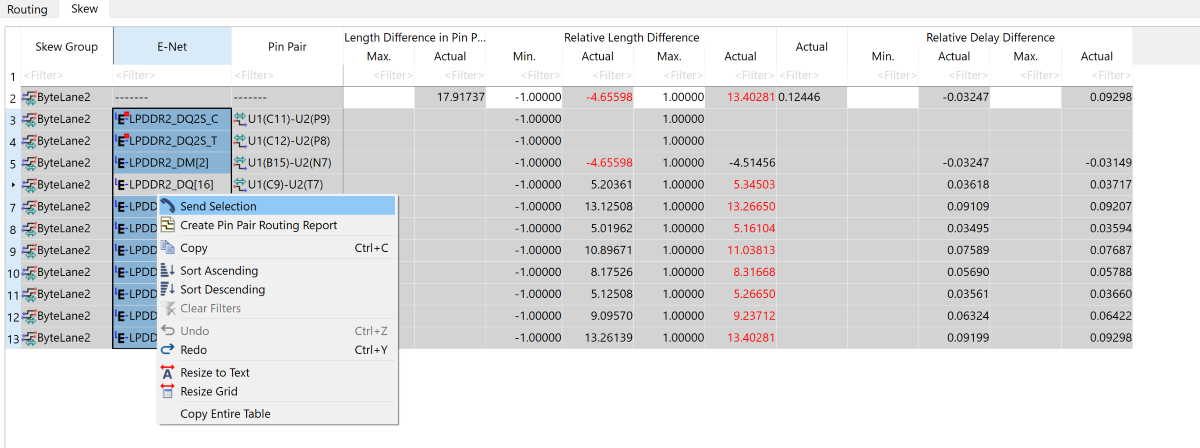
Figure 5: Highlighting Signals on the Canvas.
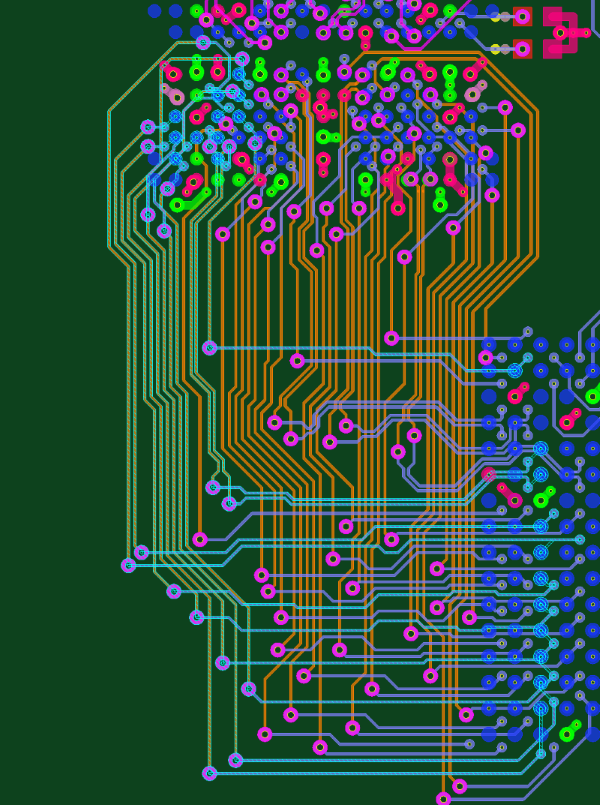
Figure 6: Highlighted Signals
- Minimize Constraint Browser.
- With the signals selected, click Net/Route > Routing > Lengthen on the eCADSTAR PCB Editor ribbon. The Lengthen command is launched, and the selected signals are immediately batch lengthened and displayed on the canvas.
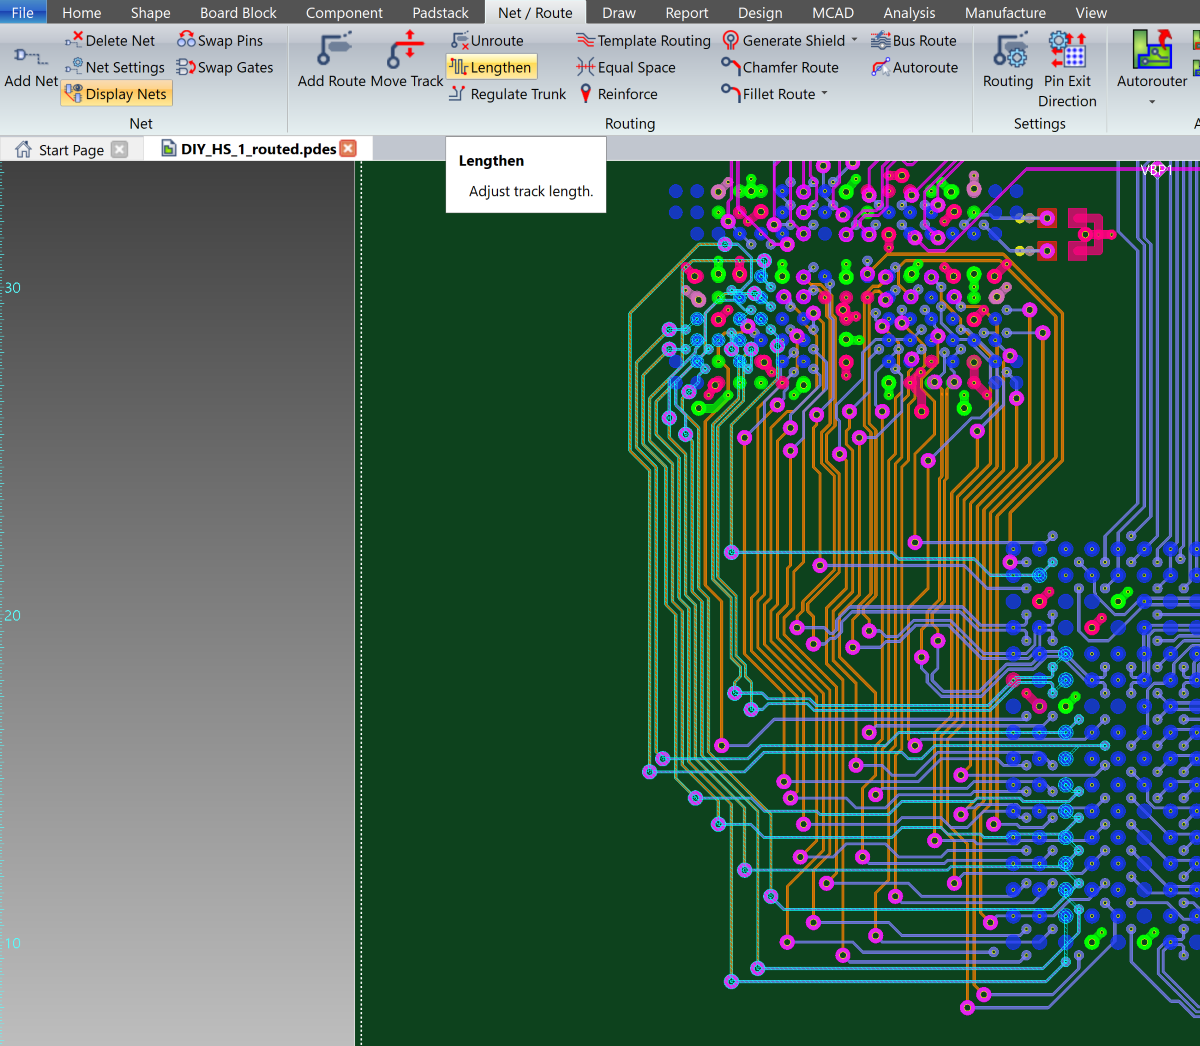
Figure 7: Lengthening Signals
- Confirm that the Lengthening Report dialog is also displayed.
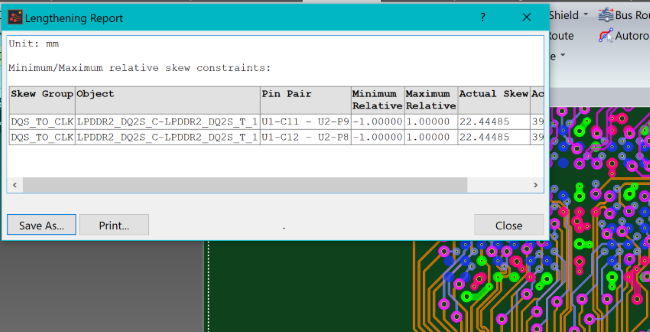
Figure 8: Lengthening Report Dialog
- In Constraint Browser, select the Skew Group tab and confirm that no values are shown in red for the Bytelane2 Skew Group. This indicates that it meets all the constraints.
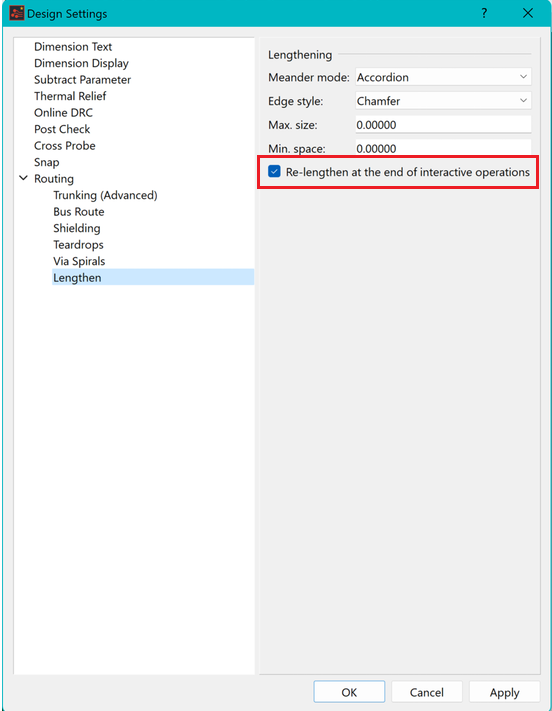
If auto re-lengthening is specified, then lengthening is automatically updated when components are moved, constraints are adjusted or when signals are increased in length. This is specified in the Design Settings dialog in eCADSTAR PCB Editor.
The above procedures are demonstrated in the following video.
