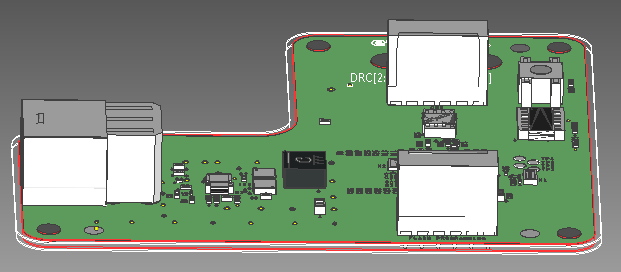
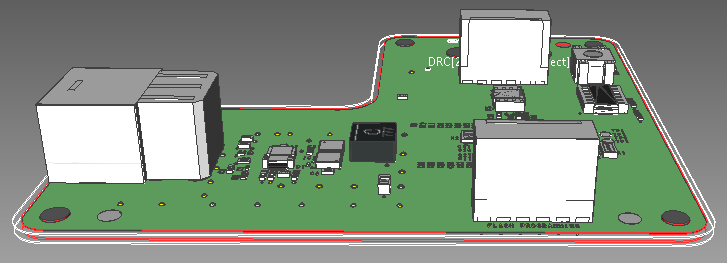
The following procedures describe how to zoom, pan and rotate the canvas in Footprint Editor, eCADSTAR PCB Editor and eCADSTAR PCB Viewer when in 3D View mode. The procedures include the use of the mouse, keyboard, mini canvas and 3D compass. They also describe how to change the display method.
Viewing the 3D Canvas in Orthographic 3D
In 3D View mode in eCADSTAR PCB Editor and eCADSTAR PCB Viewer only, you can specify whether to view the canvas in orthographic 3D. Select View > 3D > 3D View on the ribbon to toggle on 3D View mode, and then click Orthographic to toggle this display method.
- When toggled on: The canvas is displayed using parallel projection. Objects of the same size are drawn at the same size, regardless of their distance away. This makes it easier to compare the sizes of objects, and to align them.

- When toggled off: The canvas is displayed using perspective projection. Objects of the same size are drawn smaller when far away, and drawn larger when closer. This display is similar to the view seen with the naked eye.

Operating the canvas using 3D compass
The 3D compass allows you to use the mouse to intuitively manipulate objects on the canvas in Footprint Editor and eCADSTAR PCB Editor, and in the Preview pane in the 3D Model Manager dialog. It is displayed at the lower-right side of the canvas when in 3D View mode. See: Using the 3D Compass.
Operating the canvas using the mouse
| Item | Description | |
|---|---|---|
| Button | Operation | |
| Center button | Smooth pan | Drag the canvas while holding down the middle button (wheel). |
| Smooth zoom | Press the Ctrl key, and turn the mouse wheel forwards to zoom in, or backwards to zoom out. | |
| Left button | Smooth zoom | On the ribbon, click View > Zoom
>  Zoom
In. or click View > Zoom > Zoom
In. or click View > Zoom >
 Zoom Out. Zoom Out. |
| Smooth rotate | On the ribbon, click View > 3D
>  Rotate. While executing the command, drag the canvas while
holding down the left button (3D View
mode only). During the rotation operation, a virtual trackball
(semi-transparent sphere) is displayed at the center of the canvas.
The display of the virtual trackball is specified in the Product
Settings, 3D section.
 |
|
- The Smooth pan, Smooth zoom and Smooth rotate commands provide a preview of the object pointed to by the mouse cursor.
- If
 Object
Balloon is toggled on by clicking it on the quick access toolbar,
or by clicking View > Canvas >
  Object Balloon on the ribbon, a summary of the object's attributes
is displayed.
Operating the canvas using the wheel
- Operate the canvas using the operation of the wheel, combined with a modifier key (NA, Ctrl, Shift, Alt). These are assigned in Mouse settings.
- When Invert is enabled, the direction of operation is inverted.
- Operations that can be assigned are shown below.
| Item | Description |
|---|---|
| Zoom In/Out | Rotate the wheel to the front to zoom in, or to the rear to zoom out. |
| Pan Up/Down | Rotate the wheel to the front to move the view position up or to the rear to move the view position down. |
| Pan Right/Left | Rotate the wheel to the front to move the view position to the left, or to the rear to move the view position right. |
Operating the canvas using the keyboard
| Item | Description |
|---|---|
| Pan | The ↑ (up-arrow) key moves the view position up. The ↓ (down-arrow) key moves the view position down. The ← (left-arrow) key moves the view position to the left. The → (right-arrow) key moves the view position to the right. |
| Zoom | Use the + key to zoom in. Use the - key to zoom out. |
| Rotate | While holding down the Ctrl
key, press the Up arrow or Down arrow key to rotate it vertically
in the view. While holding down the Ctrl key, press the Right arrow or Left arrow key to rotate it around the Z-axis. |
Operating the canvas using the mini canvas
| Item | Description |
|---|---|
| Pan | Drag a yellow figure in the current view to move the view position on the canvas. |

