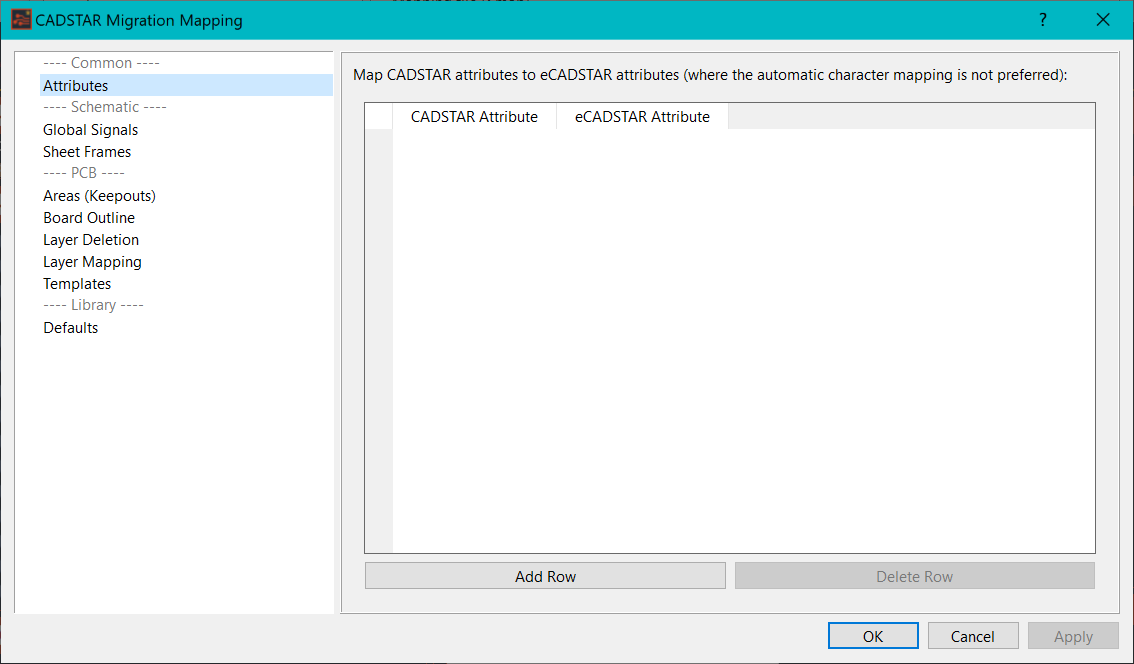
Launching the CADSTAR Migration Mapping Dialog
The CADSTAR Migration Mapping dialog can be accessed only from within the Migration Wizard. The procedure to display this dialog is described below.
- Launch CADSTAR Design Editor, and then open any Schematic or PCB design, such as Chapter 7.scm or Chapter 11.pcb.
- Export the design to archive format by clicking File > File Export. Use the default archive name that is suggested. Note the directory location that the archive is output to. Click the Browse button to show the location at which the file is created.
- Launch either eCADSTAR Schematic Editor or eCADSTAR PCB Editor.
- With no design loaded, select CADSTAR Design from the Migration group on the ribbon. The CADSTAR Design Migration dialog is displayed.

- If you are using a CADSTAR schematic archive file, then deselect the CADSTAR PCB archive (*.cpa) check box. If you are using a CADSTAR PCB archive file, then deselect the CADSTAR schematic archive (*.csa) check box.
- Use the enabled button to launch the file browser. Locate the archive exported in step 2 and click Open.
- Click Next on the Wizard dialog to proceed to the Mapping page of the Wizard.
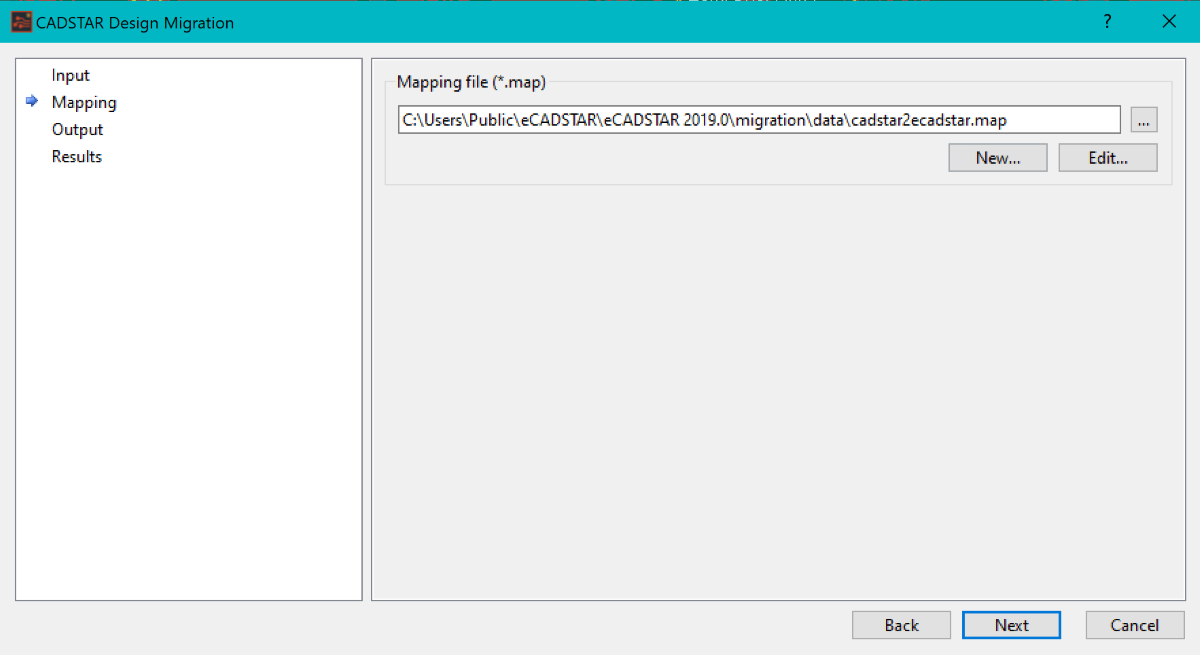
A default mapping file is supplied in the user data area for eCADSTAR. This can be used as the basis for developing the required system mapping file for the organization.
- Click Edit to launch the Mapping dialog.