
CADSTAR Part Library Preparation
This topic provides recommendations for preparing CADSTAR Part Library data for migration.
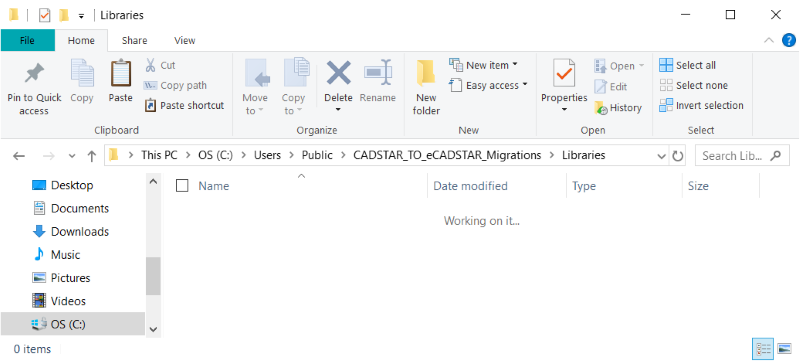
- In Windows File Explorer, create a directory location in which to place the Part Libraries which need migrating to eCADSTAR.
- In CADSTAR, select the Library tab on the ribbon.
- In the Manage ribbon group, select the Parts icon.
- Click the Libraries button in the Part Library Manager dialog. The list of part libraries is displayed for the current library path.
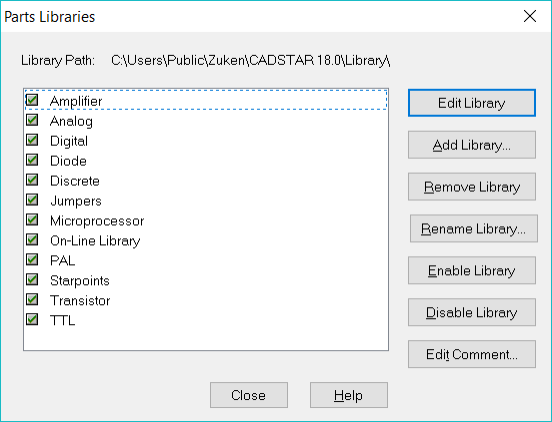
The check boxes next to the part library names indicate which part libraries are set as active (selected) or inactive (deselected).
- Using a second instance of a Windows File Explorer, locate the directory of the current library path. This location contains the part library files shown in the above dialog.
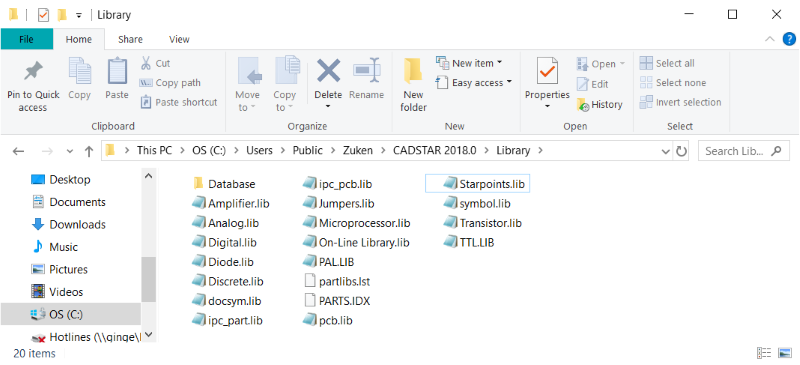
The directory may contain part library files that are not detailed in the Part Libraries dialog. This can occur when the library file is not registered within the partlibs.lst file which is in this directory. The directory will also contain a parts index file and the binary library files for PCB components, schematic symbols and documentation symbols.
- In Windows File Explorer, select the part library files which match those required from the Part Libraries dialog. Copy these files from this location, and then paste them into the directory you prepared for the library migration.

The part libraries in the migration directory can now be verified. Potential errors are detected that may cause issues to occur with the library migration process, or the resulting eCADSTAR library data.
- Launch CADSTAR Library Editor.
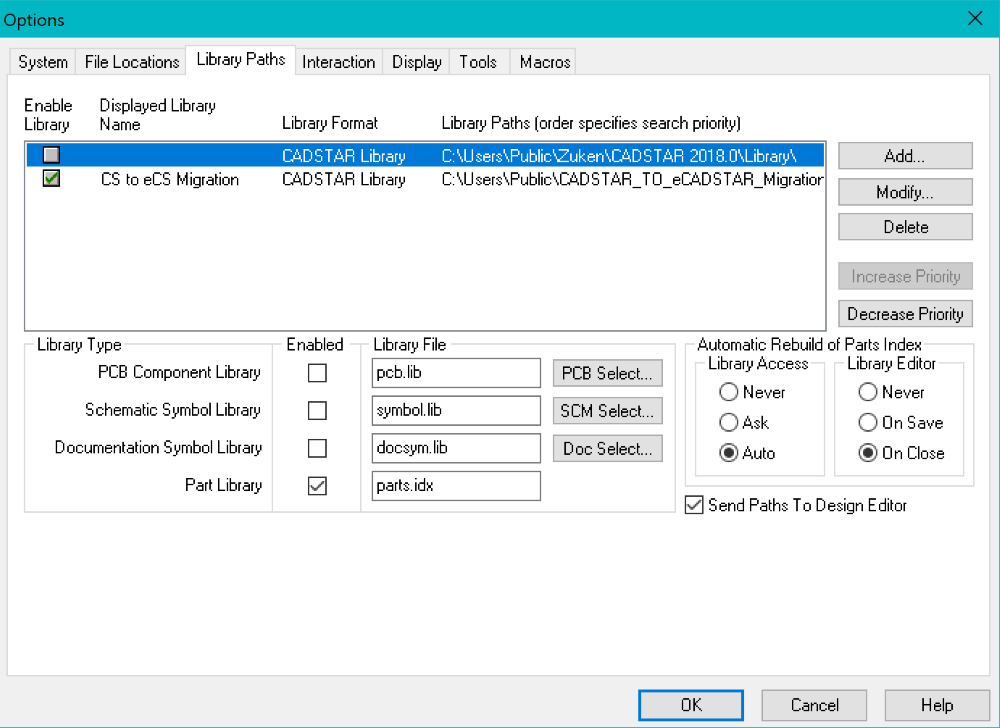
- Select File > Options, and select the Library Paths tab.

- Click Add and enter the details of part libraries that need to be migrated.
- Click Browse to locate your library migration path. Enter a suitable name for in the Displayed Library Name box.

- Click OK to apply the settings and close the dialog.
- In the Options dialog, deselect all other Library Paths. Leave the migration data library path selected.
- Deselect the Enabled check boxes for PCB Component Library, Schematic Symbol Library and Documentation Symbol Library.
- Ensure that the Part Library check box is enabled for the migration data library path.
- Click OK to apply the settings and close the dialog.
- In the displayed Warning dialog, click No to disable the Part Library.
- In the Library tab, Manage group, click the Parts icon.
- Click the Libraries button to open the Part Libraries dialog.
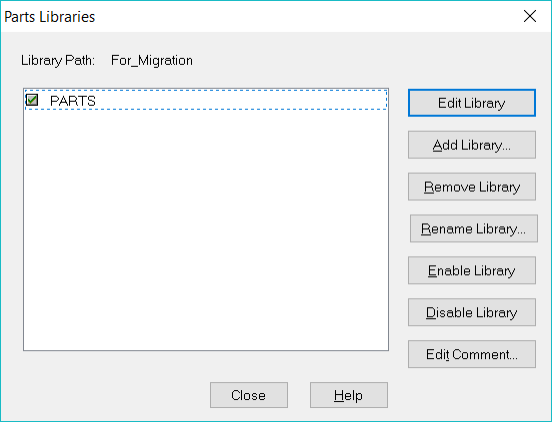
- Select the "PARTS" item in the list box, and click Remove Library.
- Click Add Library. The displayed list contains the part libraries that are in the directory prepared for the library migration.
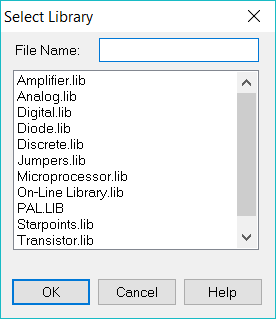
- Select a library in the list and click OK. The library reference is moved into the Part Libraries dialog.
- Repeat the process to add all the libraries that are displayed in the Select Library dialog. This ensures that all part libraries in the migration directory are verified as error free.
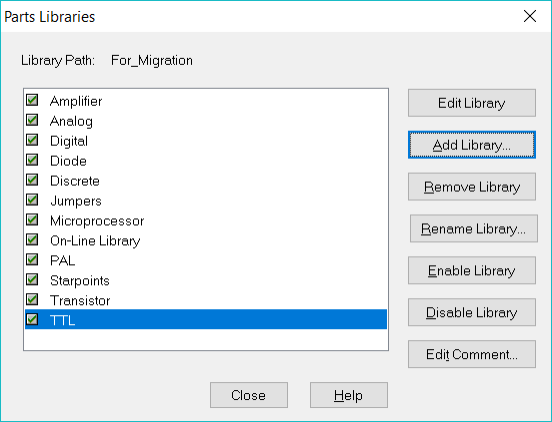
- Ensure that all libraries are enabled in the Part Libraries dialog. The check boxes should all be selected.
- Click Close.
- You are asked whether to rebuild the Parts Index file. Click Yes to confirm the rebuild.
- When the rebuild process is complete, a final report is displayed. This indicates the status of the part libraries.
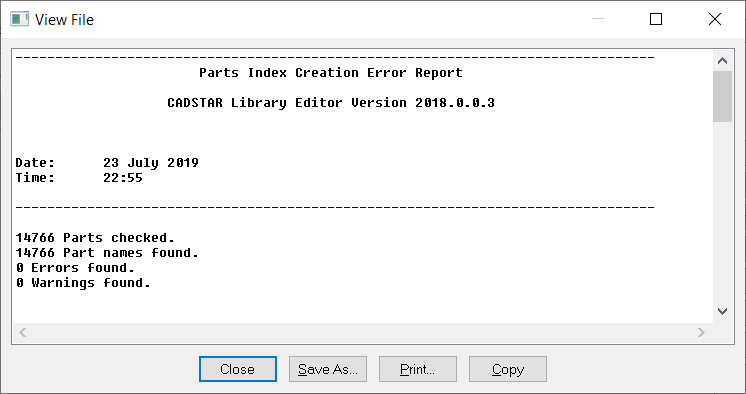
- If the report shows no errors or warnings, then the part library data is now ready for library migration from CADSTAR to eCADSTAR. Click Close to dismiss the report.
- If the report shows errors or warnings, then the part libraries will need corrective action before the migration process is executed. See CADSTAR reference material to process any issues.
The CADSTAR Part library data preparation is now complete.
