
Migrating CADSTAR Design Data
- Launch the migration tool from eCADSTAR PCB Editor or eCADSTAR Schematic Editor by clicking File > Migration > CADSTAR Design. The CADSTAR Design Migration dialog is displayed.
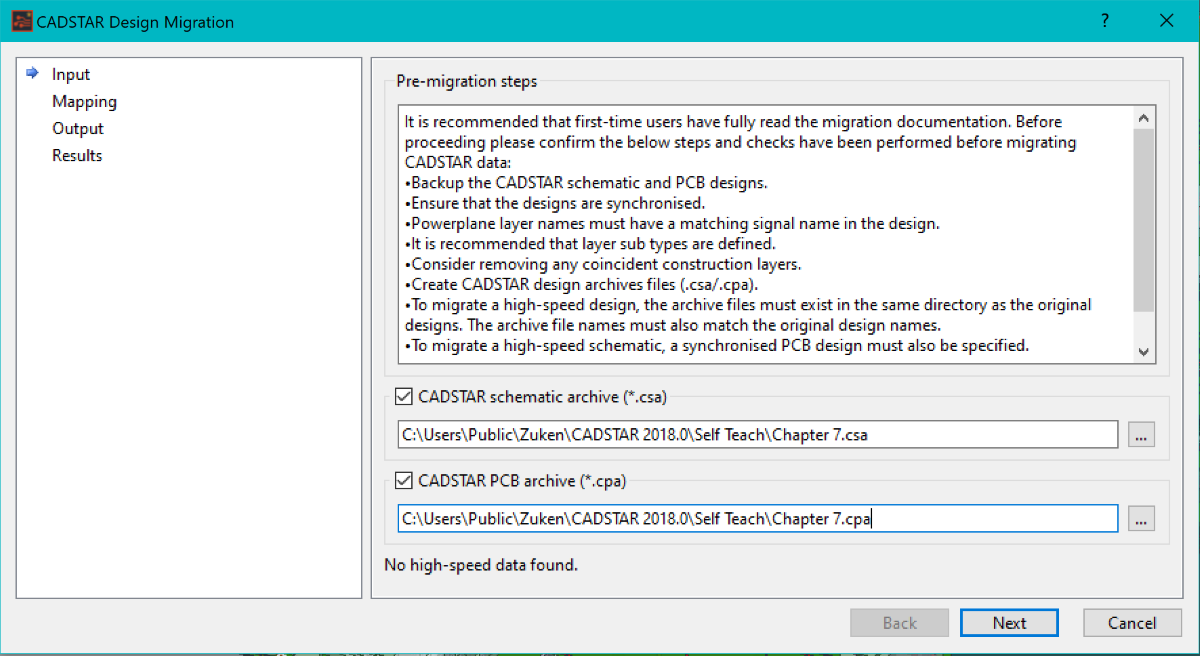
- On the Input page, specify the location of the schematic and PCB archive files to be migrated.
Note
You can specify just a schematic archive or just a PCB archive file by selecting the relevant check boxes. However, design migration delivers better results if synchronized PCB and schematic designs are migrated simultaneously. This enables the migration tool to do additional consistency checking.
You can specify just a schematic archive or just a PCB archive file by selecting the relevant check boxes. However, design migration delivers better results if synchronized PCB and schematic designs are migrated simultaneously. This enables the migration tool to do additional consistency checking.
-
Click Next. The Mapping page is displayed.
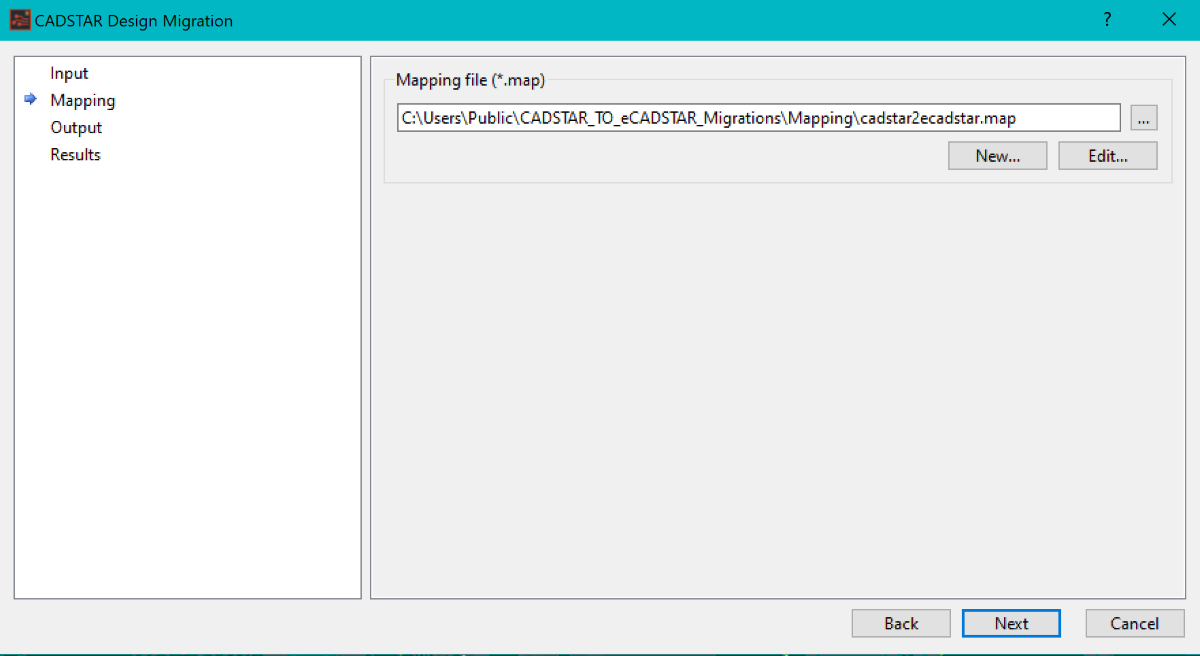
- Specify the location of the mapping file. Use the mapping file developed previously.
- Click Next. The Output page is displayed.
Note
The content of the selected mapping file is verified. If unsupported content is determined, then an error message is displayed and the next page in the CADSTAR Design Migration dialog is not displayed.
The content of the selected mapping file is verified. If unsupported content is determined, then an error message is displayed and the next page in the CADSTAR Design Migration dialog is not displayed.

- Specify an empty directory to save the migrated design data to. To avoid exceeding the limits of your operating system, it is recommended that a short directory path is used.
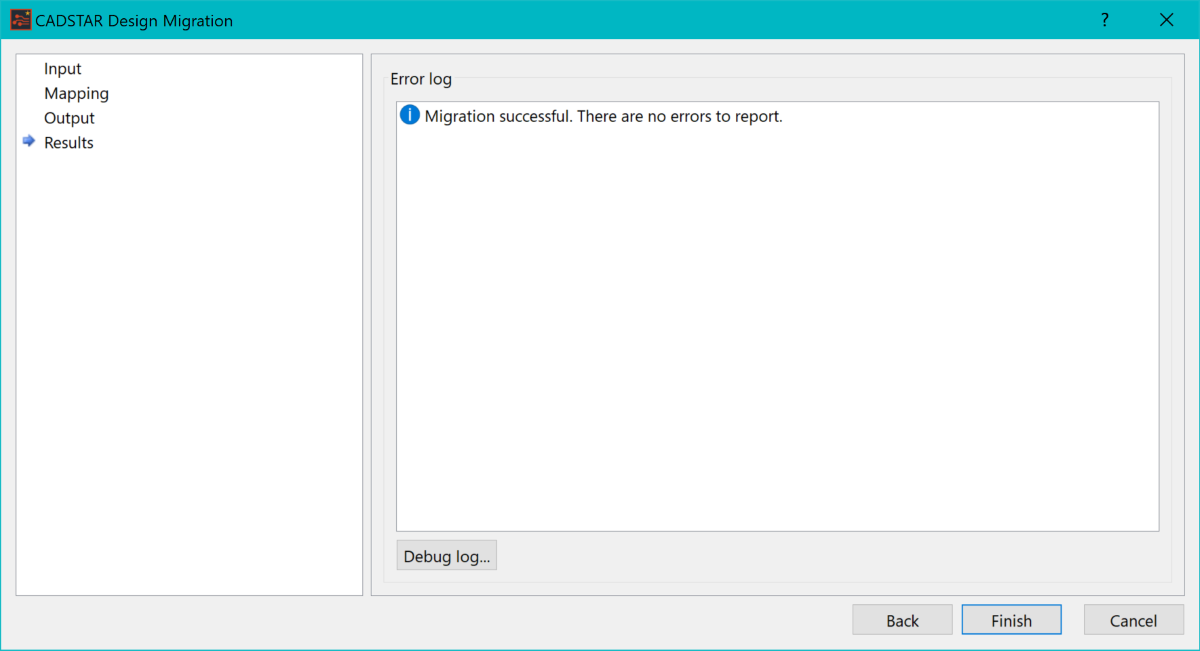
- Click Next. The design migration process is started. When completed, the Results page is displayed. Any errors are displayed in the Error log box.
Note
- Depending on the size of the designs, there may be a delay in completing the migration.
- Messages may be displayed in the Error Log pane, which identify any items that did not migrate correctly.
- The Debug Log provides detailed results for the CADSTAR to eCADSTAR data migration.
- Click Finish in the CADSTAR Design Migration dialog. The migrated designs are automatically opened in eCADSTAR PCB Editor and eCADSTAR Schematic Editor.
Note
- A design library is created by the migration process. This matches the parts, footprints and symbols from the CADSTAR design. It is located in the following location: <output_dir>\<design_name_dir>\library.
- The design library that is created is specific to the migrated designs. It is recommended that you synchronize the designs with this library after migrating them. You can either merge this library to your master library, or use it as the master library for the design.
- Default CADSTAR net names ($123) are changed to default eCADSTAR net names (SIGN123) during migration.
- If clearance classes have been used, then after you Forward Annotate the design you must execute the Backward Annotation command to copy them from eCADSTAR PCB Editor to eCADSTAR Schematic Editor.
