
Finalizing the Template (Design Rule) Migration
- Open the Rule Editor by clicking Rule on the Editors ribbon group. The eCADSTAR Master Library contains no defined design rules.
- Click the Design Rule Library icon in the Import ribbon group. The Import (Design Rule Library) dialog is launched.
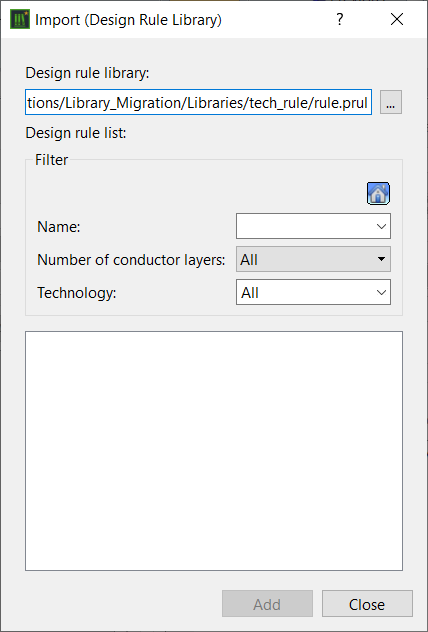
- Click
 and browse to the library of a PCB design migrated for a CADSTAR template.
 - Select the rule.prul file in the following location: Migration folder\Library\Tech_Rule.
- Click Open to add the technology content into the dialog.
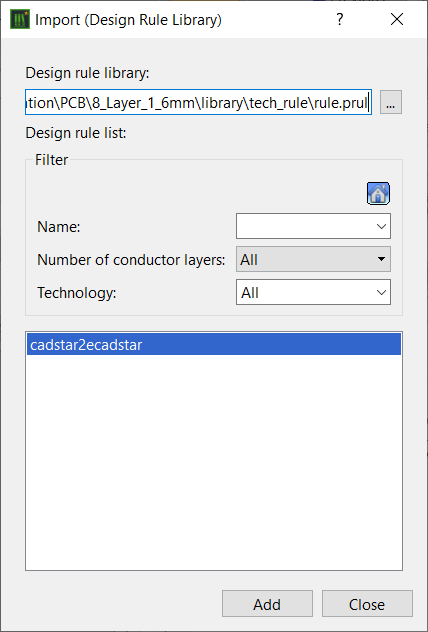
- Select the available design rule "cadstar2ecadstar" and click Add to import the technology.
- Click Yes to confirm the message.
- Close the Import (Design Rule Library) dialog.
- In the design rule list, right-click the "cadstar2ecadstar" name, and select Rename on the assist menu. Type a suitable name for the imported technology.
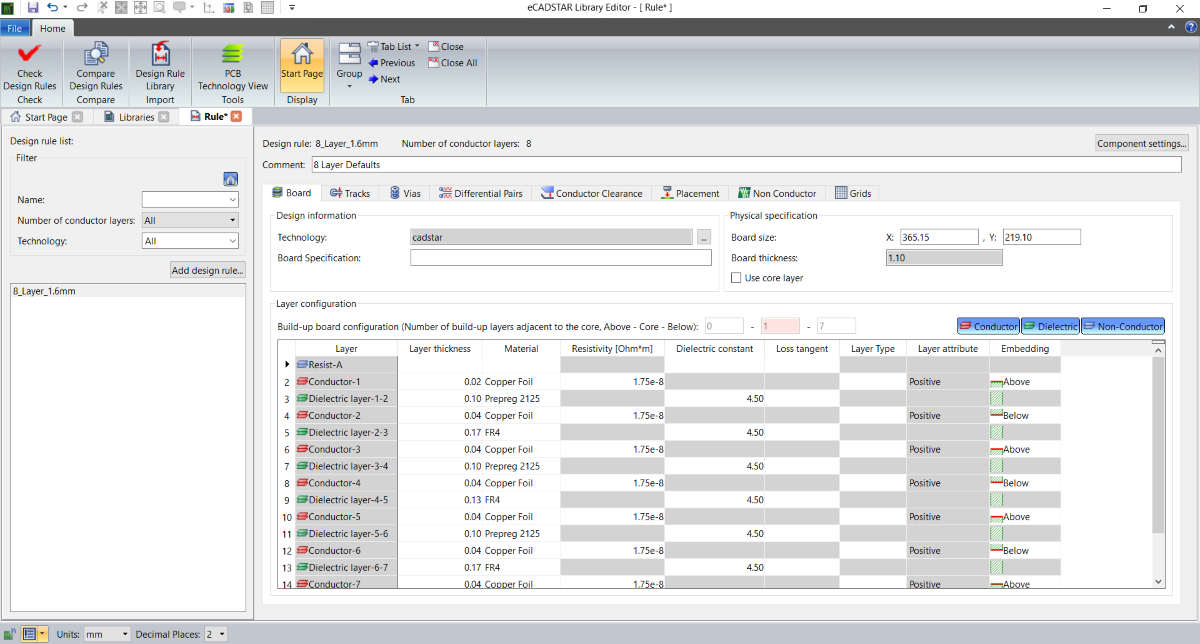
- Click
next to the Technology box to open the
Select Technology dialog.
- Select the associated technology for the design rule and click OK. The Technology box is updated.
- Click File > Save to save the changes to the library. A single warning is displayed in the Rule Editor report dialog.
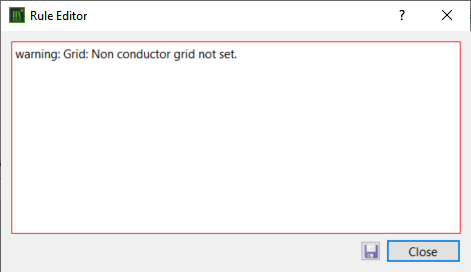
Note
The warning message indicates that a defined grid is not set for non-conductor items within the rule set. When referenced in a PCB Design, any non-conductor items cannot be placed on a specific grid. However, they will be placed on the minimum system grid unit of 0.00001mm.
The warning message indicates that a defined grid is not set for non-conductor items within the rule set. When referenced in a PCB Design, any non-conductor items cannot be placed on a specific grid. However, they will be placed on the minimum system grid unit of 0.00001mm.
- Close the Rule Editor report dialog.
- Repeat steps 2 to 12 above to import all migrated CADSTAR PCB template designs into the eCADSTAR Master Library.
- Close the Design Rule Editor by clicking X on the Rule tab.
All required PCB Templates have now been migrated from CADSTAR to eCADSTAR.
