
Migrating the CADSTAR Documentation Symbol Library
The migration tool allows you to migrate CADSTAR Documentation Symbol libraries.
- Execute this command in eCADSTAR Schematic Editor or eCADSTAR PCB Editor by clicking File > Migration > CADSTAR Design. The CADSTAR Design Migration dialog is displayed.
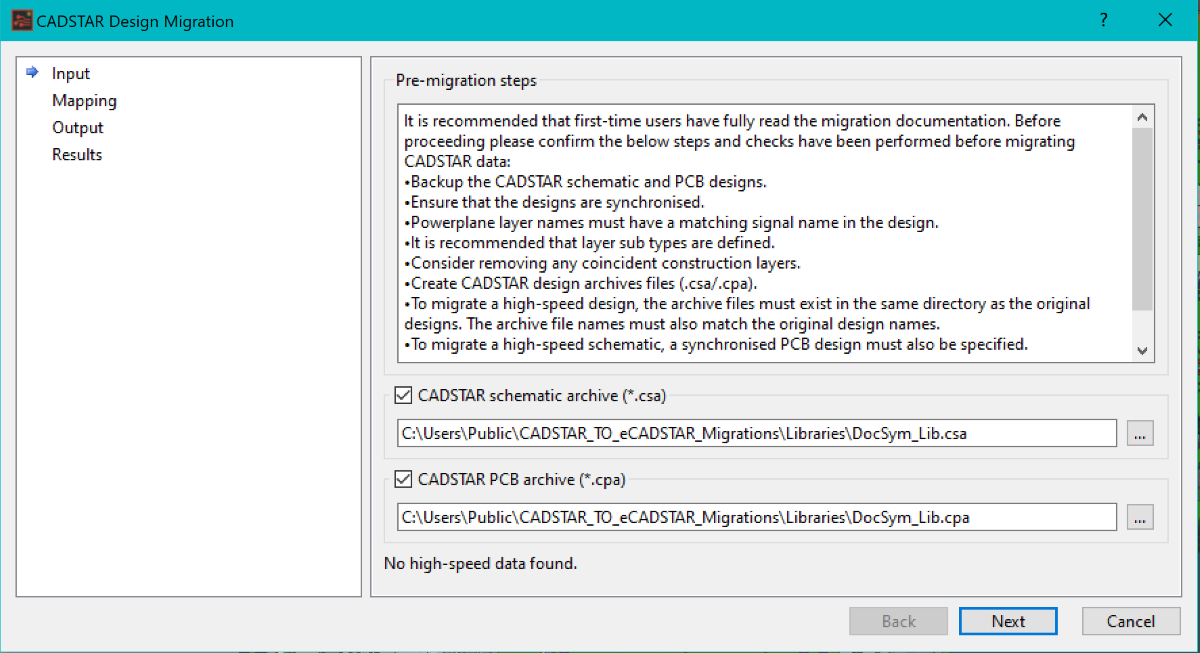
- On the Input page, specify the location of the schematic and PCB archive files to be migrated. See previous image.
- Click Next. The Mapping page is displayed.
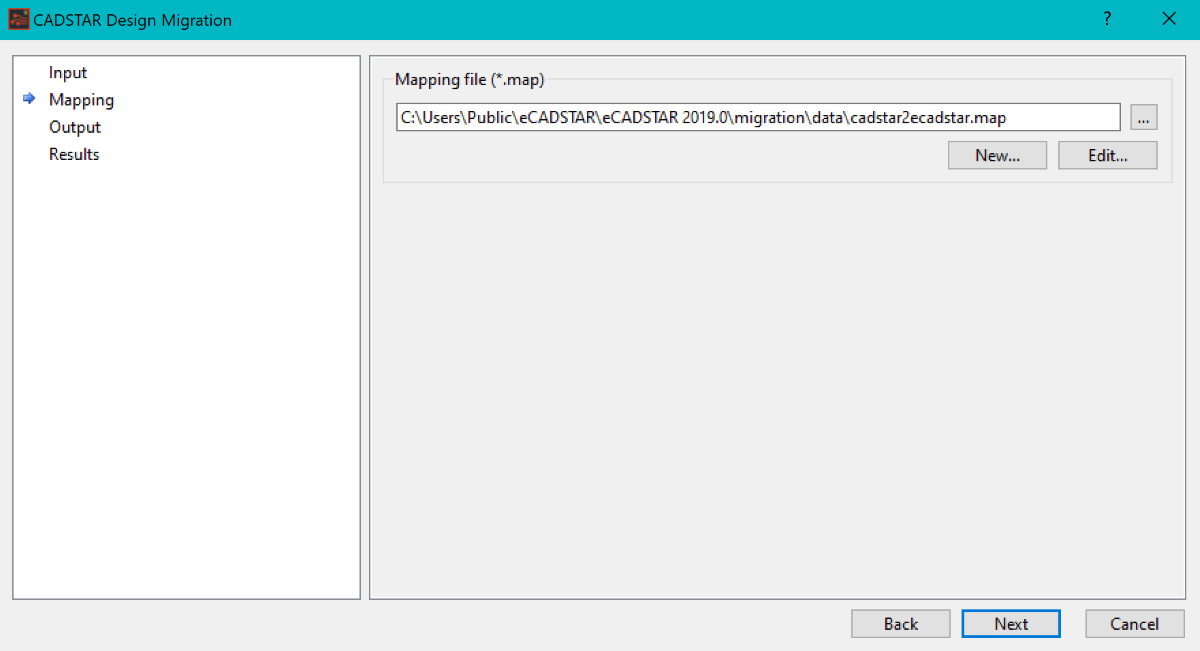
- Specify the location of the mapping file.
- Click Next. The Output page is displayed.
Note
When launching the mapping dialog, the mapping file editor verifies that the file contents has the correct syntax. Any invalid content is removed. This change is applied only if you click Apply or OK in the mapping file dialog. Only syntax is checked. Prohibited characters are not checked.
When launching the mapping dialog, the mapping file editor verifies that the file contents has the correct syntax. Any invalid content is removed. This change is applied only if you click Apply or OK in the mapping file dialog. Only syntax is checked. Prohibited characters are not checked.
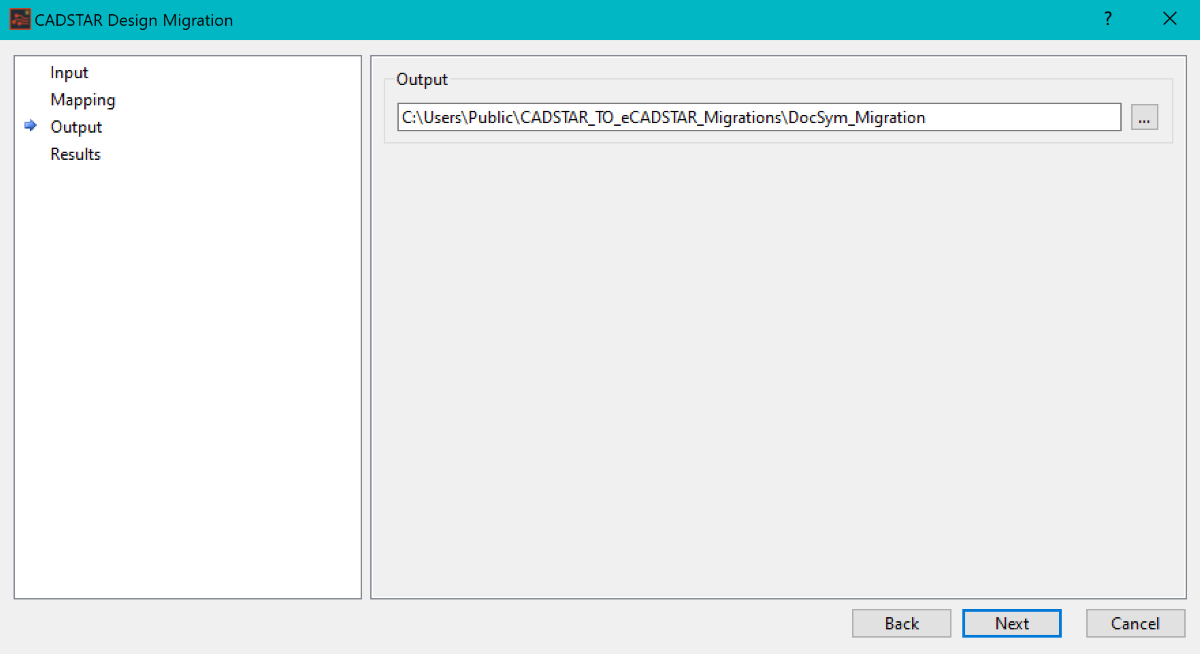
- Specify an empty directory to save the migrated design data to. To avoid exceeding the limits of your operating system, it is recommended that a short directory path is used.
- Click Next. The design migration process is started. When it is completed, the Results page is displayed. Any errors are displayed in the Error log dialog.
Note
- Depending on the size of the design, there may be a delay in completing the migration. If an item does not migrate correctly, then a message is displayed in the Error Log area.
- The Debug Log provides a detailed description of the migration process.
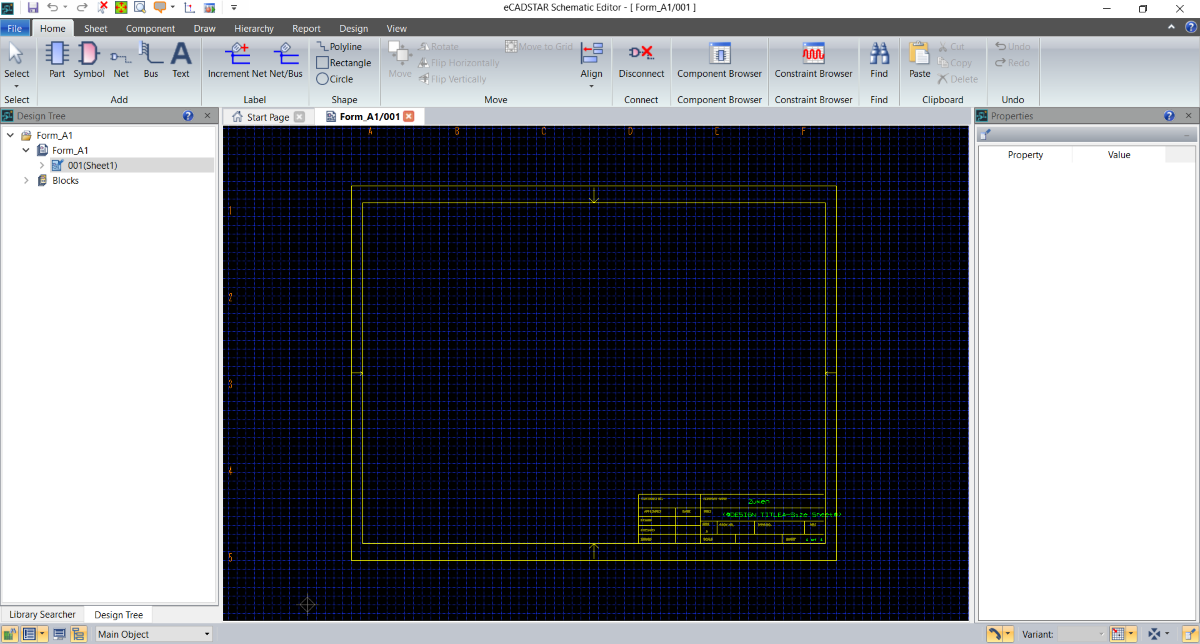
- Click Finish in the CADSTAR Design Migration dialog. The migrated designs are automatically opened in eCADSTAR Schematic Editor and eCADSTAR PCB Editor.
- Repeat this process for all CADSTAR schematic and PCB templates that are used in eCADSTAR.
